Photographing the work
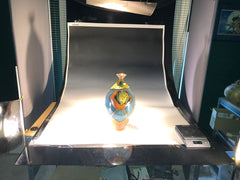
To state the obvious, I don't have any pottery on this website. I have pictures of pottery. I use many very glossy glazes, and when lit, they can have significant glare which can make the work more difficult to understand. I use a graduated background (dark at the top and light at the bottom) when photographing the work and one top and two side lights. The glare can be significantly worse with pieces that have a "belly" shape as lights bounce up from the background.
To help reduce glare I use polarizing filters in front of each of the lights and a circular polarizing filter on the camera. With these filters, most of the glare can be "dialed" out by physically rotating the filters on the side lights, and using the rotating filter on the camera lens.


I shoot two pictures of the piece. The image on the left will provide me with a realistic background. I surround the piece with black felt to reduce the light "bounce" on the piece from the background. You can see the lights: top; right; and left. I've used a variety of lights over the years from the old, really hot, photo studio lights, to fluorescent, and now ceramic metal halide spots, each light producing about 4000 lumens at 70 watts per light.


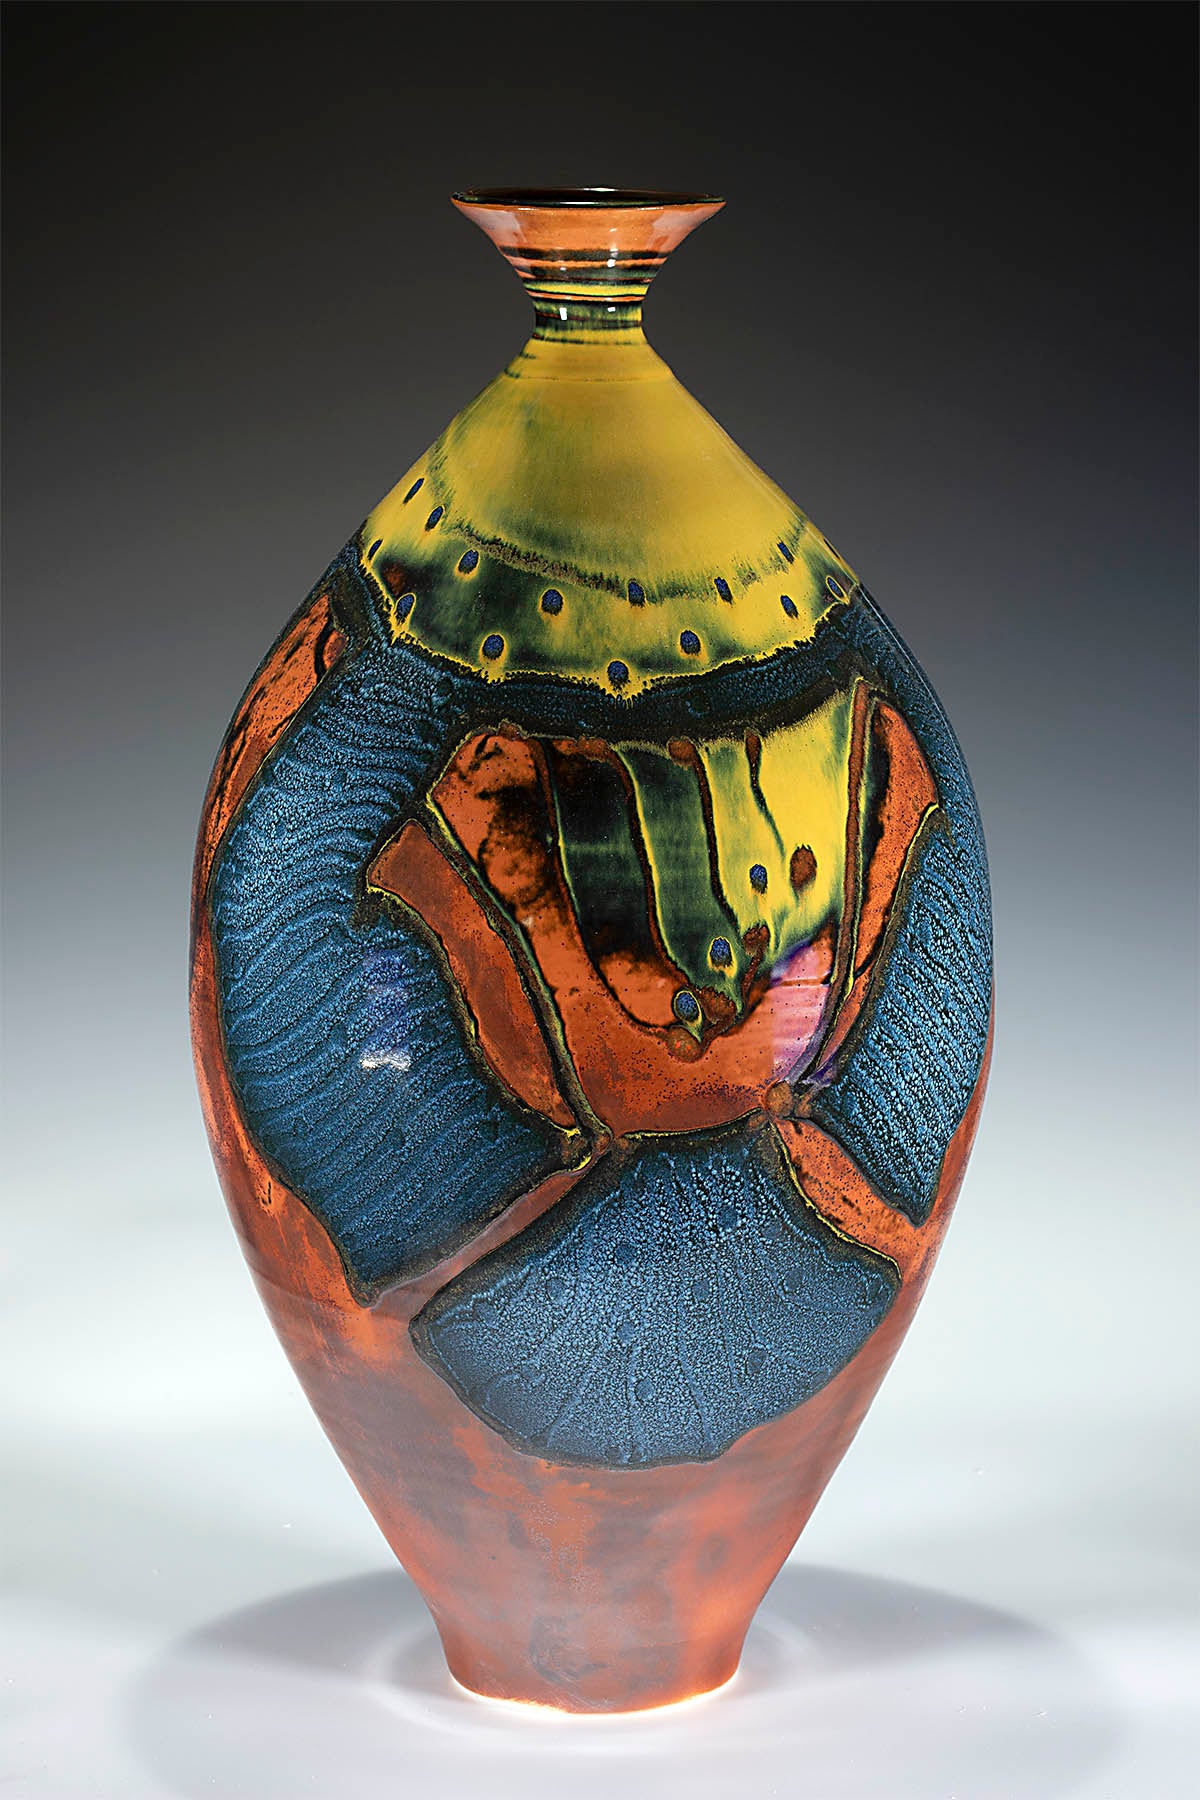
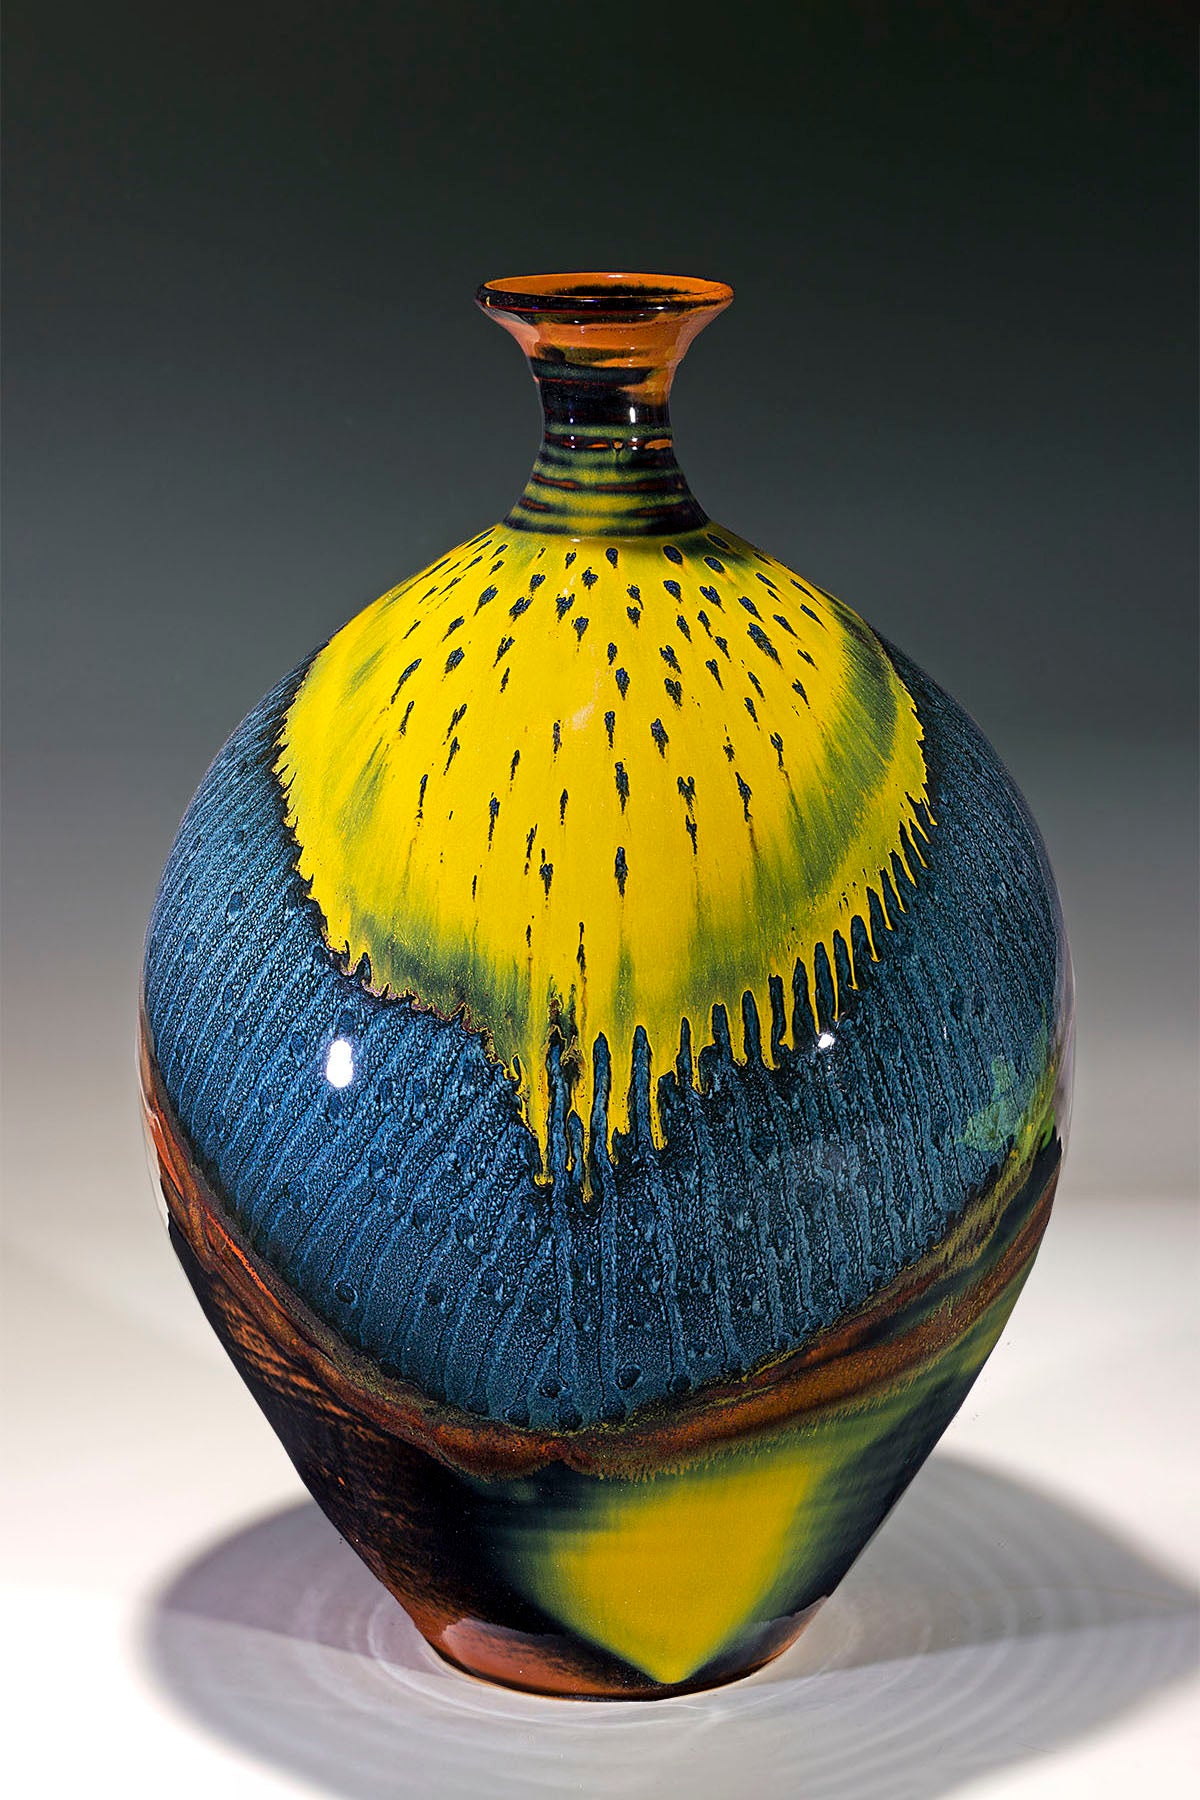
These are the images captured through the polarized lens. I bring these into photoshop and combine them so I have a realistic background without the glare. Not a quick process necessarily, but I think it's important to show what the piece looks like in the greatest detail possible.
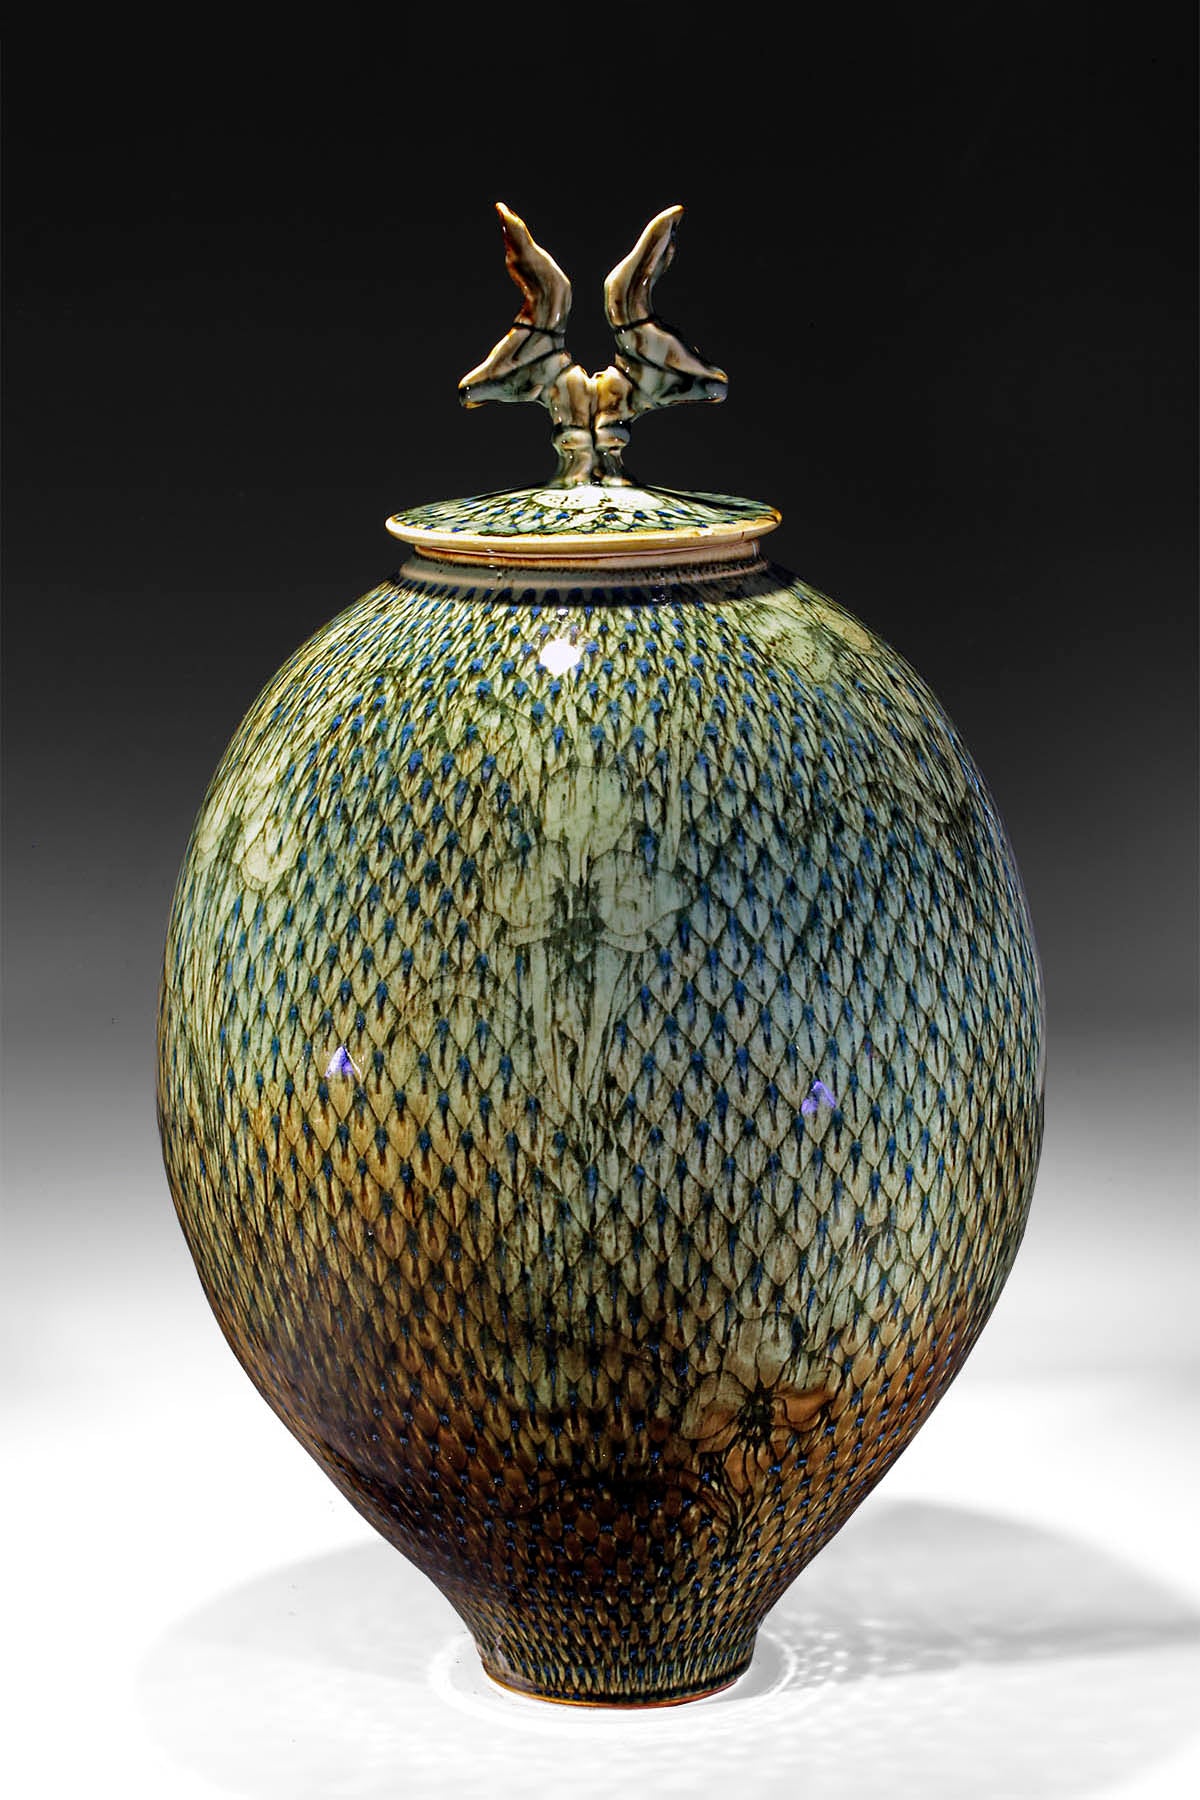
The combined photo.

I have also found that prime lenses are much better than zoom. I have several, but most often use a 60mm with a Canon DSLR.
It's amazing what an impact light brings to this work. I highly recommend that customers think about the lighting available when purchasing a piece or consider adding light for full enjoyment.


