Glazing Technique
I didn't start out with a commitment to glaze trailing. It just evolved over time. Glaze trailing (drawing with glaze) is similar to slip trailing (drawing with clay). The biggest difference is that slip trailing remains dimensional after firing, where glaze trailing is dimensional during application, but melts flat.

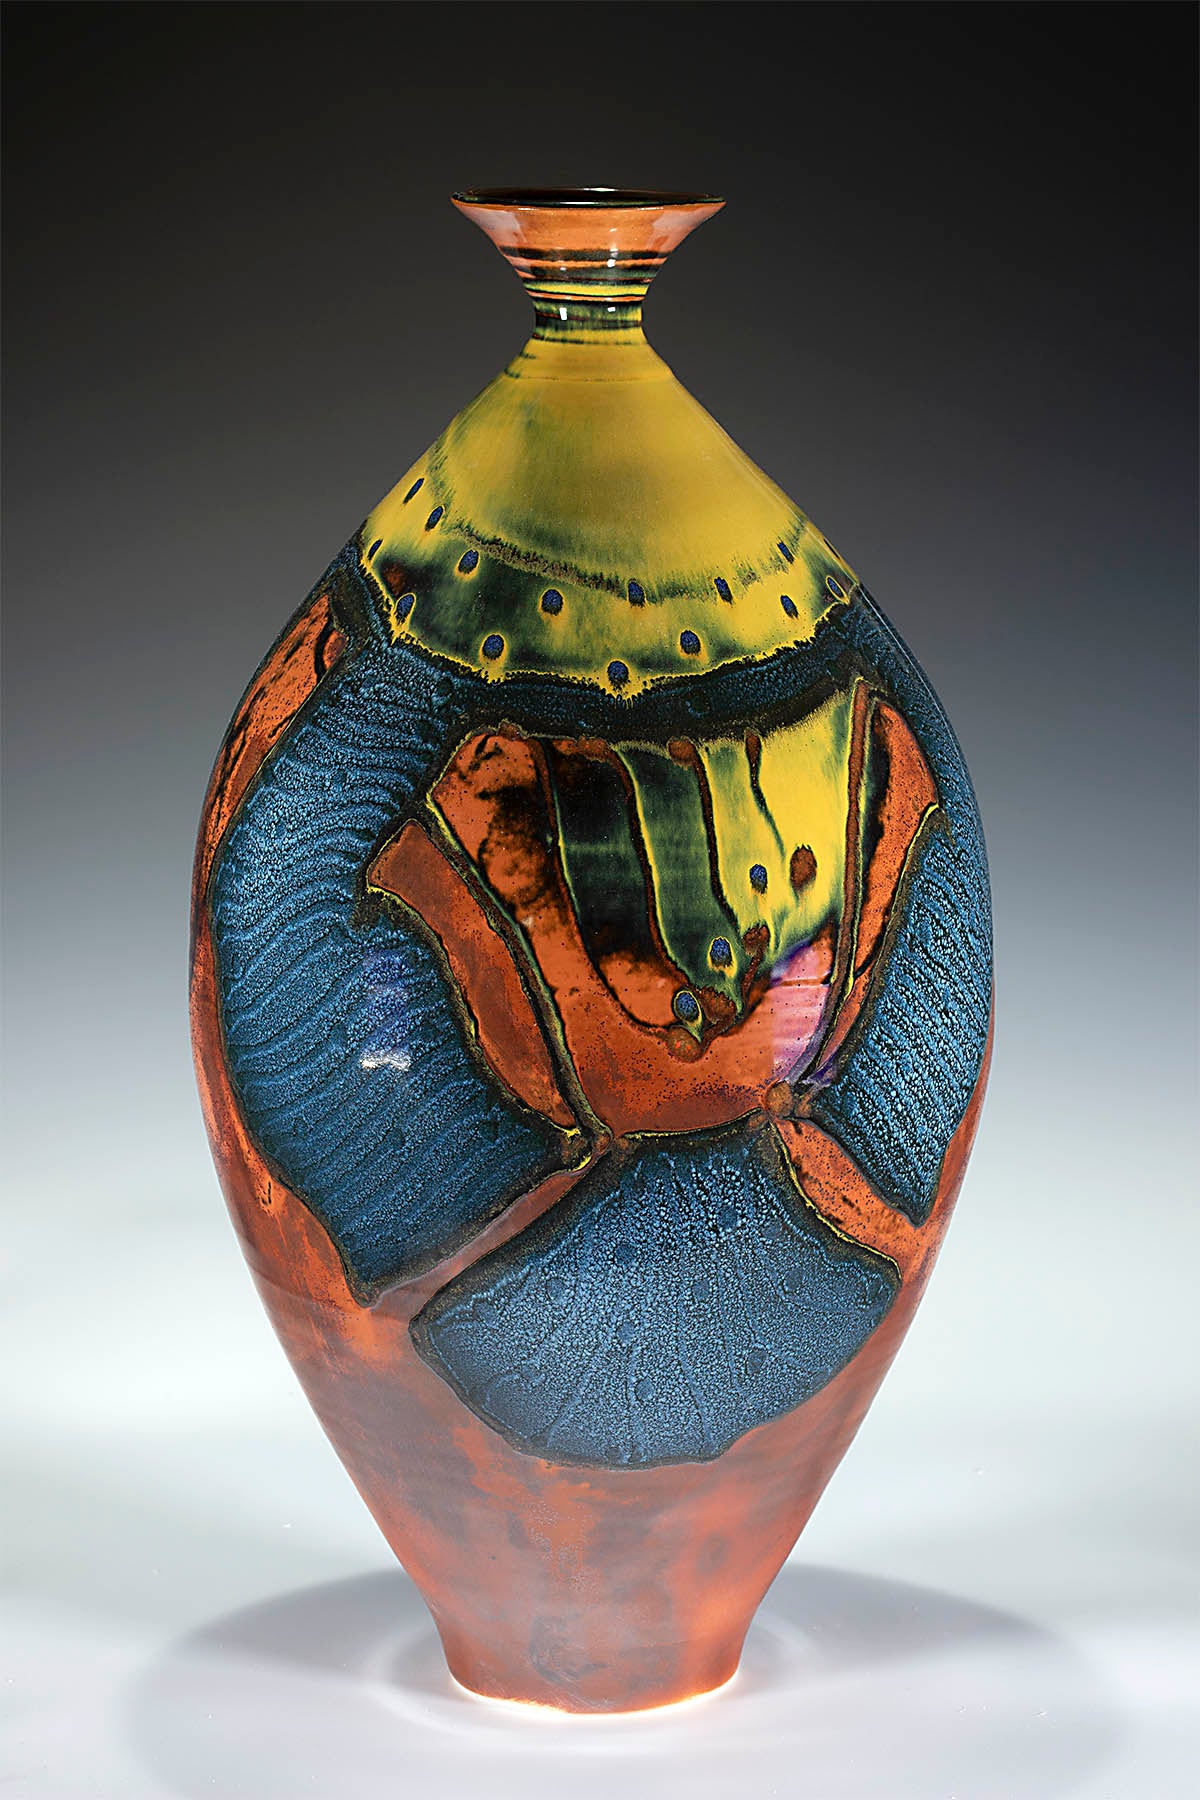
In this detail from the bottle pictured on the blog post, there is an obvious dimensionality. To the touch, it's flat. The lines and dots were drawn with black glaze. The entire section was then sprayed with the same black glaze. A layer of blue glaze was then applied. During this process dimensionality is developing within the drawn and sprayed glazes. The final step is to spray from one direction, in opposition to that dimensionality, with the black glaze. The dimension of the underlaying glazes blocks the black glaze from blotting out all the blue that was applied. When it melts in the firing, since the glazes are not highly fluid, the piece retains the sense of dimension while remaining flat.
This technique resulted from observation of what was happening, and posing "what if" scenarios, and then trying them. It's not effective with all glaze combinations, not because the principle changes, but the fluidity of different glazes can alter the results.
Here is an example of pre and post firing.


As you can see, there is not a strong correlation between the surface as you're applying it, and the fired results. Essentially, you glazing the piece "in your head", based upon your knowledge and experience with the specific glazes.
Here is another before and after.


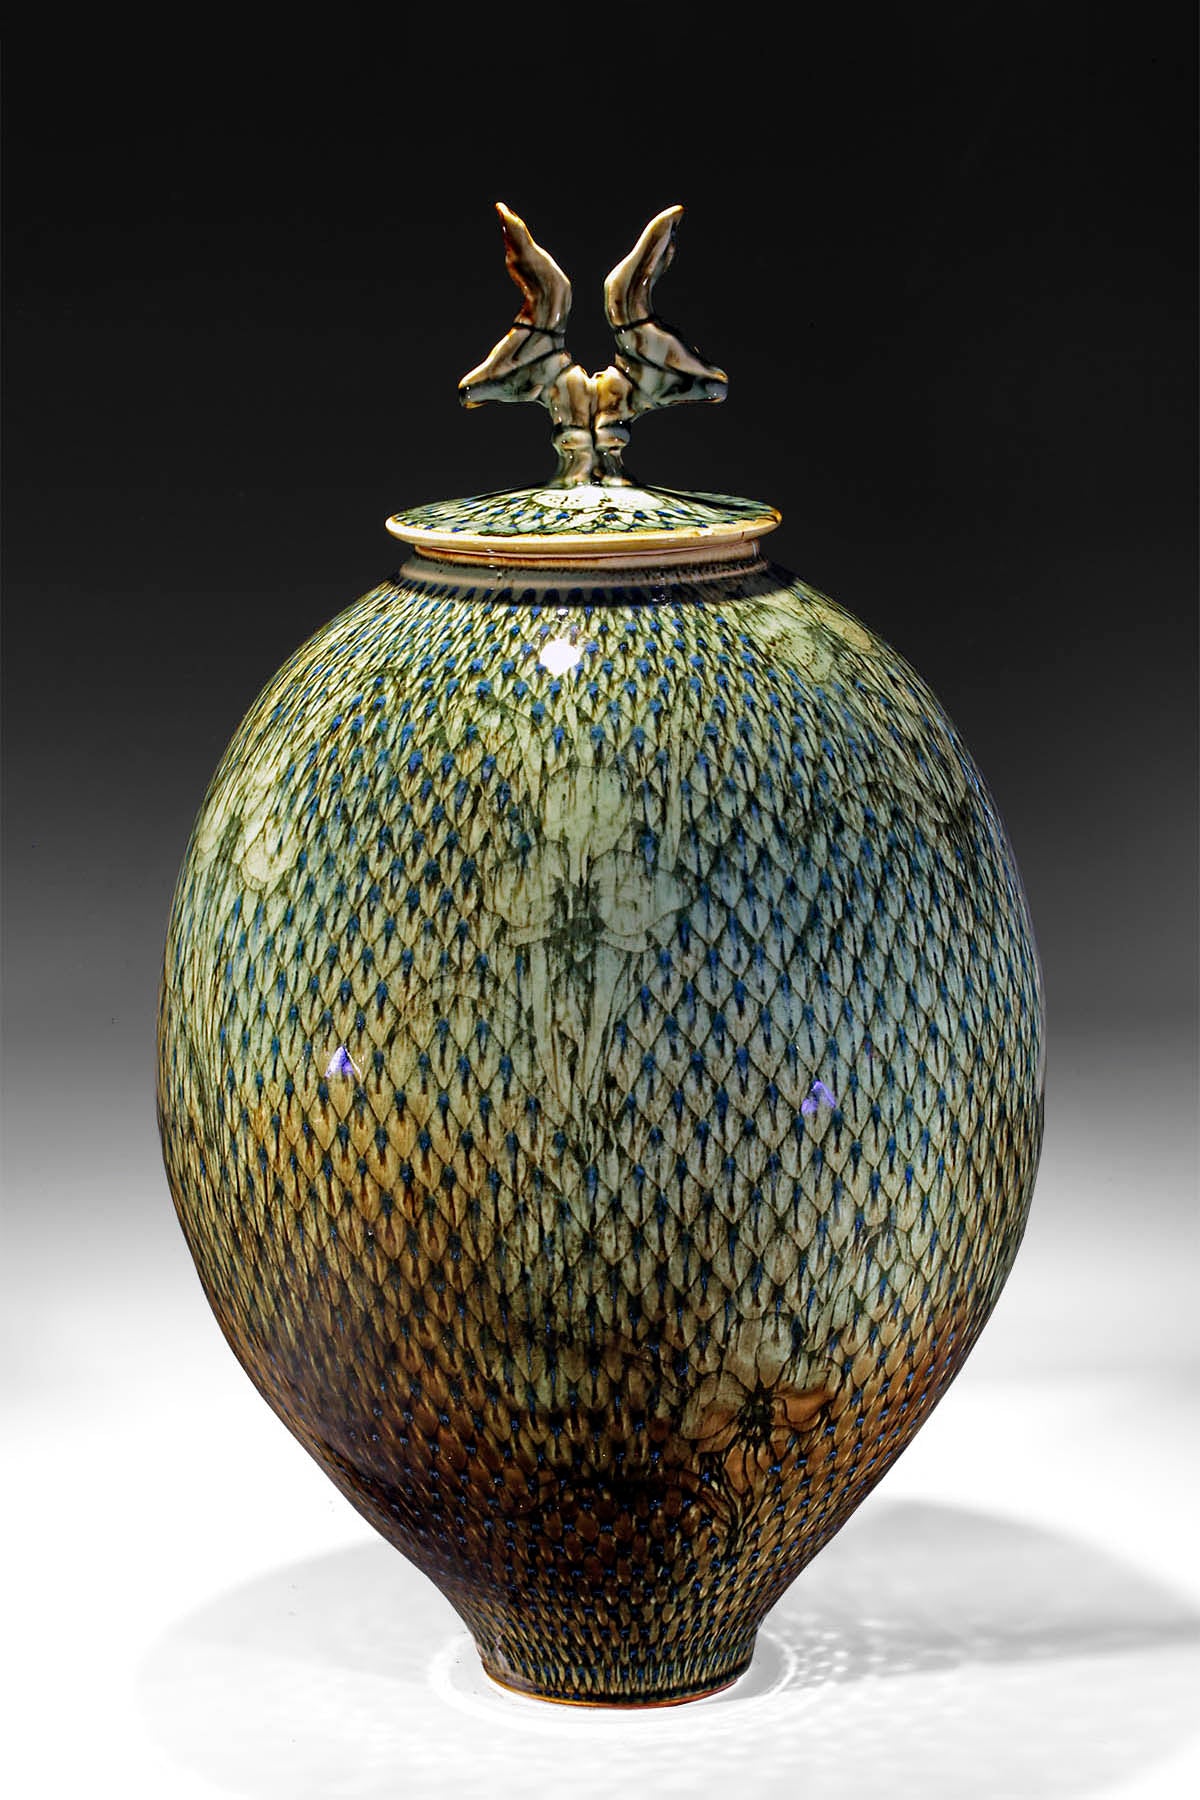
I generally use 3 glazes for trailing: a black, a blue, and a saturated iron with bone ash "orange" glaze. I have occasionally used a clear or green glaze as well. All of the glazes I use for trailing are cone 10 glazes, I don't use any underglaze. In addition, I also regularly use another 10 or 12 glazes. Often a piece will use two or three for trailing and another two or three sprayed over the entire piece. In pieces with a lot of color variation such as the basket shown above, I may use as many as 14 or 15 glazes total.

Pieces, such as the teapot above, are exceedingly time consuming to glaze. In these pieces, the demarcation between glazes is distinct. The glazes have to be applied in a specific order - darkest first. The black is complete before the orange, then the tenmoku, followed by the celadon and blush glazes. I don't use any wax or latex resist. I do use pieces of foam to block areas as I spraying. Overspray in the unglazed areas is removed with small stiff brushes before applying the next glaze. A piece like this one can take five or six hours to spray after the trailing is applied.
A note on firing: I am consistently happier with pieces that have been fired for long periods of time. My firings regularly exceed 20 hours. I try and fire as quickly as I can before reduction, and in the last 5 or 6 hours of the firing temps might increase by only one or two hundred degrees. Heat over time delivers different results than the absolute attainment of temperature. I fire my pieces in reduction from cone 012 until cone 9 is down. I slow the firing and oxidize until 10 falls. My kiln is surprisingly efficient, costing only about $50 per firing.